In the last blog post we talked about the material you need to start painting with watercolour. In this post I will show you how you can paint some simple flowers.

Preparation
What you need
- Watercolour paper
- Brushes (I have used the sizes 6, 8 and 10)
- two glasses with water
- Watercolour
- Paper towels / old cloth
Detailed tips on the material, you will find in the last blog post.
Get your materials ready and mix the colours you need. I have an old pink for the large flowers, a green for the stem and leaves and a blue for the small flowers. It's best to try out your colours on a piece of watercolour paper.
5 steps for your flower painting
Watercolour painting for beginners
If you're not yet familiar with watercolour painting, don't worry! Here you'll find information, tips and tricks to help you get started:
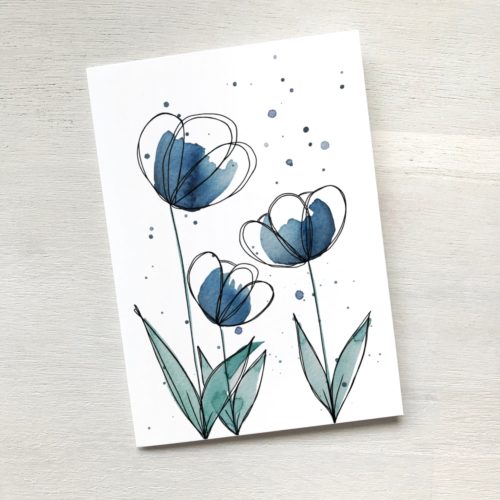
Step 1
Paint three big blossoms with your flower colour.

Step 2
With your green you paint a thin stem and a few leaves for each flower.

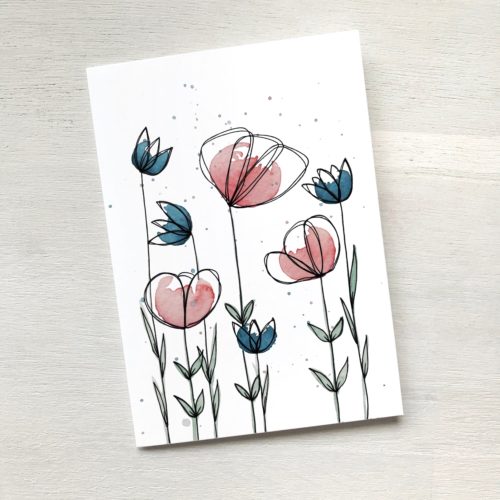
Step 3
Paint a few smaller flowers. I always paint the flowers first and then the stem and leaves.

Step 4 (optional)
I'm a big fan of paint splashes. 😊 But of course, you can omit them if you don't like them.
I used a thin brush with size 6 and the two colours of the flowers. Make sure that the brush has enough color, but it should not be too wet. If you have never made splashes of paint before, it is best to try it on a separate sheet. It takes some practice. I hold the brush with thumb and middle finger and tap firmly with my index finger. With the other hand I cover places where I don't want paint splashes (e.g. the big flower blossoms).

Step 5
When everything has dried well, you make the lines with a black fineliner. I used a Pitt Artist Pen by Fabercastell of the size S.
I always draw the lines pretty fast. I want an imperfect look. Most of the time I make the same shape twice, so that there is not only one line. It's not about following the edges of the color.
Practice on a separate sheet of paper first if you are unsure.

Done!
You did it, your flower painting is finished! I hope the individual steps were clear and you are happy with your result.
I am always happy to see paintings done after one of my tutorials. Why don't you show me your work on Facebook or Instagram. Don't forget to link me in the picture and use #paperblue when you post something, otherwise I won't see it.
Have fun painting!